This article may contain affiliate links. If you buy through them, Fresh Start Beauty may earn a small commission at no extra cost to you. Learn more.
Most brow trouble starts before the pencil ever comes out. You open a tutorial, watch someone draw a sharp, high arch, and try to copy it onto your own face without checking whether that shape has anything to do with your bone structure. It usually does not, and that mismatch is why the result looks pasted on instead of grown in.
Start with what is already there
Look at your brows in a mirror with good, even light, not the dim bathroom glow most of us default to. Notice where the hair is thickest, where it thins out, and where it naturally lifts or flattens. You are not designing a brow from scratch. You are working with a shape your face already suggested, and the job is to support it, not override it.
I like using a thin makeup brush or even a cotton swab as a straight edge for this next part. Hold it vertically against the side of your nose, running straight up. Wherever it touches your brow is roughly where your brow should start. Angle that same brush from the outer edge of your nose to the outer corner of your eye, and extend it upward. That is roughly where your brow should end. These are not laws carved in stone, but they give you a reference point instead of eyeballing it and hoping.
Finding the high point
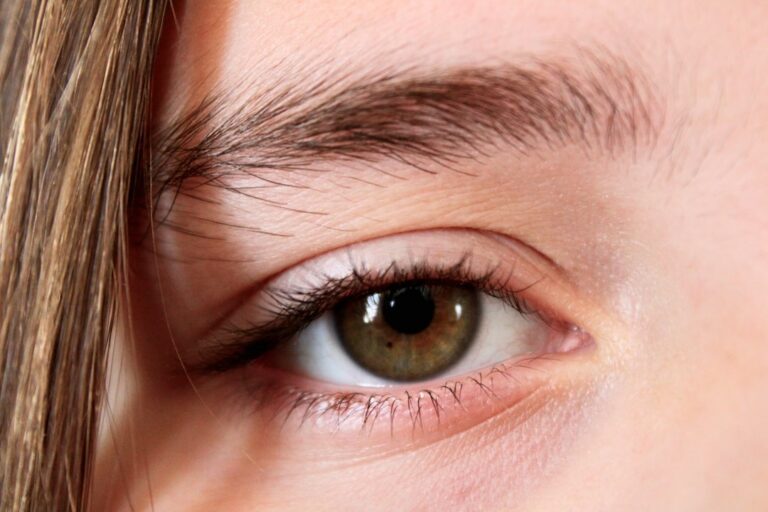
The arch, or high point, is the part people tend to overdo. A common guide is to angle your brush from the outer edge of your nose through the outer edge of your iris while looking straight ahead. Where that line crosses your brow is a reasonable spot for the highest point. Notice I said reasonable, not mandatory. Some faces carry a higher arch beautifully. Others look more balanced with a softer, rounder brow that barely peaks at all.
Face shape gives you a direction, not a rule
If your face is longer, a flatter brow with less dramatic arch tends to keep things balanced, since a high peak can stretch the face even more. If your face is rounder, a bit more lift and definition at the arch can add structure. If your face is more angular already, a softer, curved brow shape can balance out those sharper lines. These are starting points, not requirements, and your own preference gets the final vote.
The goal is not a brow that matches a chart. It is a brow that looks like it belongs on your face when you are not thinking about it at all.
Pay attention to what you have grown used to
Sometimes the shape that looks correct to you is actually just the shape you are used to seeing, even if it was over plucked years ago or grew back uneven. Give your brows a few weeks of minimal intervention, just trimming any obviously long stray hairs, before you decide what the real shape underneath is. You cannot design around a shape you cannot see yet.
Mapping with product, without committing
Once you have your three reference points, mark them lightly with a brow pencil in a shade close to your natural color. Do three small dots: start, arch, and end. Step back from the mirror, look at your whole face, not just the brow area up close, and see if the dots look proportional to each other. It is very easy to get lost staring at one eyebrow from six inches away and lose track of how it reads from a normal distance.
Connect them loosely first
Rather than committing to a hard line right away, connect the dots with light, feathery strokes that follow the direction your hair naturally grows. You can always add more product. Taking away a line that is too heavy or too sharp is much harder, especially early on when you are still learning how your products behave.
If one brow is noticeably different from the other, and most people’s are to some degree, do not chase perfect symmetry stroke for stroke. Aim for the two brows to look like siblings, not identical twins. Sisters, not clones, is the phrase I keep coming back to when a client gets stuck trying to make both sides match exactly.
Trimming without losing shape
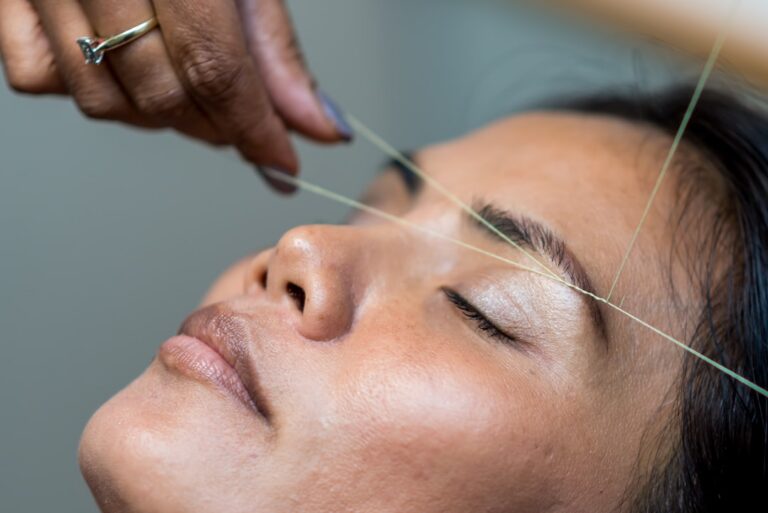
Overgrown brow hairs can hide your actual shape and make it hard to judge anything accurately. Brush the hairs upward and out with a spoolie, then only trim the very tips of hairs that clearly extend past where you want the brow to end. Small snips, checked often, beat one big confident cut that you cannot take back.
When to leave it alone
If your brows are already fairly full and evenly shaped, sometimes the best move is doing almost nothing. A clear or tinted brow gel to hold hairs in place can be enough definition on its own. Not every face needs a heavily filled, structured brow every single day, and knowing when to hold back is its own kind of skill.
Once you have found your actual shape rather than a borrowed one, everything else, the filling, the gel, the occasional touch up, gets easier because you are no longer fighting your own face. You are just maintaining a shape that was there all along.