This article may contain affiliate links. If you buy through them, Fresh Start Beauty may earn a small commission at no extra cost to you. Learn more.
Thin or sparse brows usually get filled in the wrong way first, with a single solid block of color that covers the gap but looks nothing like actual hair. The goal is not coverage for its own sake, it is the appearance of more hair, and those two things call for a different approach.
Look at your gaps honestly
Before reaching for a product, look closely at where the sparseness actually is. Some people are thin at the front near the nose, some are thin at the tail, and some have a patchy middle section from years of over plucking or just natural growth patterns. Filling the whole brow the same amount when only one section needs help is how you end up with brows that look heavier than intended.
Work with a mirror that shows the whole picture
Use a mirror that lets you see your whole face, not just a close up of one brow. Sparseness that looks dramatic up close often reads as barely noticeable from a normal distance, which changes how much correction you actually need.
Choosing a tool that mimics hair
A powder or a pencil with a very fine tip tends to create more convincing hair strokes than a thick pencil or a heavy pomade applied with a flat brush. The finer the tool, the more you can create individual lines instead of one solid mass of color.
Powder for softness, pencil for precision
Powder applied with an angled brush gives a soft, gradual fill that works well for brows that just need general density added evenly. A pencil is better for sparse patches that need individual hair strokes drawn in specific gaps, since you have more control over exactly where each stroke lands.
Many people get the best result combining both, powder first to build a soft base of color across the whole brow, then a pencil on top only in the areas that are still visibly gappy after the powder step.
Drawing hair strokes that look real
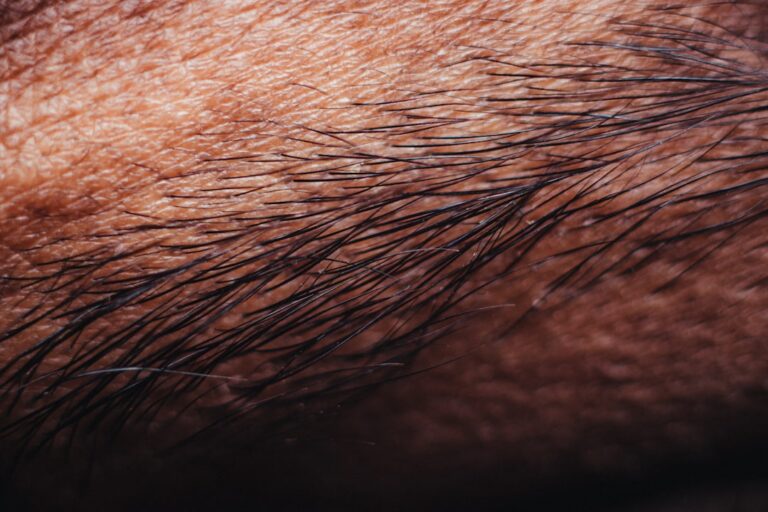
The trick to a convincing hair stroke is direction and length variation, not just adding lines. Real brow hair does not grow in one uniform direction across the whole brow. Near the inner corner, hairs tend to grow more upward. Through the arch, they angle outward. Near the tail, they lay flatter and point down and out.
Vary your pressure and length
Short, light strokes in the thinner areas, layered at slightly different angles and lengths, read as more natural than long, identical strokes repeated across the whole brow. Alternate the pressure too, some strokes lighter, some slightly firmer, the same way natural hair varies in thickness from strand to strand.
You are not drawing a shape and filling it in. You are drawing individual hairs that happen to add up to a shape.
Blending so nothing looks too crisp
After filling, go back over the brow with a clean spoolie brush and brush through everything, hairs and product together. This single step does more to soften a filled in brow than almost any other part of the process, because it breaks up any harsh edges and mixes the added color into your natural hair rather than leaving it sitting on top.
Check the front edge especially
The inner corner, closest to your nose, is the spot most likely to look too solid or too dark if you are not careful, since it is the part people tend to focus on first when filling in a brow. Keep this area softer and lighter than the rest of the brow, and let the color build gradually toward the arch instead.
Setting the fill so it lasts
A clear or tinted brow gel brushed through at the end holds everything in place and adds a final layer of texture that helps disguise where product ends and natural hair begins. Brush upward and slightly outward, following your natural growth pattern, rather than flattening everything down in one direction.
A light hand goes further over time
It is tempting to build up more and more product on days when your brows feel especially sparse, but a heavier hand almost always looks less convincing, not more. If a gap still bothers you after one round of filling, it is usually better to leave it slightly underfilled than to keep layering color until it looks solid and flat.
Sparse brows are common, not a flaw to hide completely. The goal with any of this is brows that look like your own hair, just a little fuller and more defined, not a shape that could belong to anyone.
Adjusting for growth over time
Brows change. Seasons, hormones, stress, and just the natural cycle of hair growth mean the areas that need filling in this month might not be the same areas that need it in three months. Check in with your actual brows every so often rather than filling them the exact same way out of habit. A technique that worked perfectly on thinner brows can look heavy once more hair has grown back in.
Trimming supports the fill, it does not replace it
Long, unruly hairs mixed in with genuinely sparse patches can make a brow look uneven in a different way than thinness alone. Brush hair upward and trim only the longest strays that clearly break the line you are going for. This is a small step, but it keeps a filled in brow from looking like it is fighting against a few stray hairs going in every direction.
None of this needs to take long once it becomes familiar. The first few times you try building hair strokes with varied pressure and direction, it will feel slower than just coloring in a shape. Stick with it. The extra minute or two is what separates a fill that reads as more hair from one that reads as a shape drawn over your face.