This article may contain affiliate links. If you buy through them, Fresh Start Beauty may earn a small commission at no extra cost to you. Learn more.
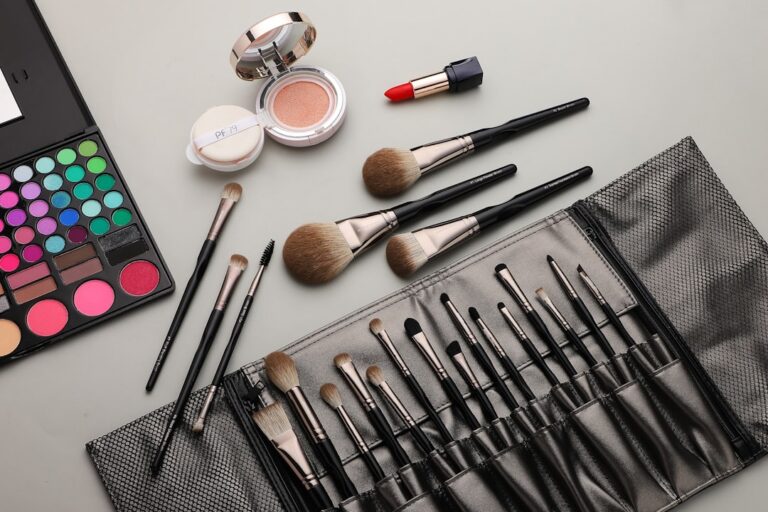
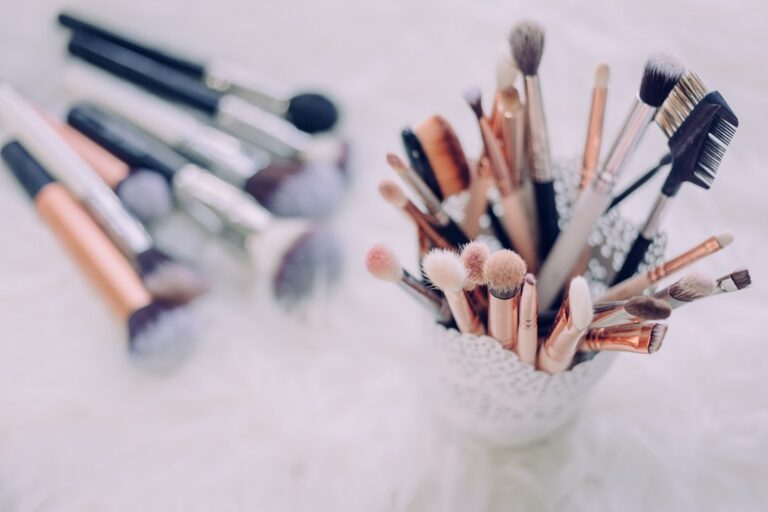
Standing in front of a brush display can feel like being handed a toolbox with no labels. Round ones, flat ones, angled ones, fluffy ones, tiny ones, and nothing telling you what any of them are actually for. Manufacturers assume you already know. This is the explanation I wish someone had given me years ago, shape by shape, in plain terms.
The domed fluffy brush
This is the soft, rounded brush that looks a little like a powder puff on a stick. Its job is blending, not placing color. Because the bristles are loosely packed and soft, it picks up a small amount of product and diffuses it across a wide area, which is exactly what you want when softening the edges of eyeshadow so there is no harsh line where one color stops and your skin starts. It is not the brush to use for depositing strong, saturated color. Use it after you have placed color with something firmer, to blend the edges into nothing.
The flat, dense shader brush
This one looks almost like a small paddle, with bristles packed tightly together and cut flat across the top. Its job is the opposite of the fluffy brush. It picks up and deposits color with precision, which makes it the right choice for packing eyeshadow onto the lid where you want the most saturated, solid color of the whole look. Use it first, before the fluffy brush comes in to soften what you have placed.
The pencil or crease brush
Small, tapered, and firm, this brush is built to get into the crease of your eyelid, the natural fold above where your lid meets your brow bone, and deposit a darker shade there to create depth. It is also useful for smudging a line along your lower lash line or adding definition to your outer corner. Think of it as the detail tool, doing precise work in a small space where a bigger brush would spread color too far.
The angled brush
Flat with bristles cut on a diagonal, this shape is built for anything that needs a defined line following a natural angle, most commonly your brows. The angle of the bristles mimics the angle of a natural brow, letting you fill in sparse areas with short, hair like strokes rather than one solid block of color. Some people also use a small angled brush along the lash line for a soft, smudged liner look.
The buffing brush
Dense, usually flat topped or slightly domed, and made of tightly packed bristles, this brush is built for foundation and any base product you want pressed into skin rather than swiped across it. The tight bristle packing works product into the surface in small circular motions, which tends to look more like skin than a brush that drags product in long strokes. This is the brush most people reach for when they want their base to look natural rather than heavy.
Every brush shape exists to solve one specific problem. Once you know the problem each one solves, you stop guessing and start reaching for the right tool automatically.
The large powder brush
The biggest, softest brush in most collections, built to cover the most surface area with the lightest touch. Its job is setting powder, applying a broad sweep of bronzer, or dusting off excess product rather than placing anything with precision. If a brush feels too big to be useful for detail work, that is exactly the point. It is meant for broad, even coverage, not precision.
The blush brush
Slightly smaller and rounder than a full powder brush, with a domed shape that naturally follows the curve of your cheek. It picks up a moderate amount of product and places it with more control than a large powder brush would, which matters because blush placement changes your whole face shape depending on where the color lands.
The spoolie
This looks like a small mascara wand and it is not made of traditional bristles at all. Its only job is grooming, brushing your brows into place, blending the edges of brow product so it does not look drawn on, or softening mascara clumps right after application. It is the least glamorous tool in any kit and one of the most used.
Putting shapes together with purpose
Once you can name what each shape is built to do, building a kit stops being about buying more and starts being about buying the right piece for a gap you actually have. A dense flat brush for color, a fluffy one to blend it, a small firm one for the crease, an angled one for brows, and a soft one for powder covers nearly everything most routines need. Everything past that is refinement for a specific technique you want to add later, not a requirement to get started.